Showing posts with label cupcakes. Show all posts

Sunday

Hummingbird Bakery's Red Velvet Cupcakes

I had a go-to red velvet recipe, one I thought I was happy to use for the rest of my life... but then I went to London last October, bought a red velvet cupcake from the Hummingbird Bakery on Portobello... realised I have their recipe book at home, decided to try it and have not turned back since. Their cream cheese frosting recipe is also the one I've been using for years now, so it truly is a perfect pairing!


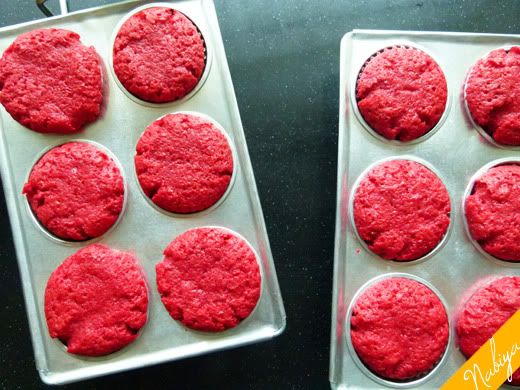
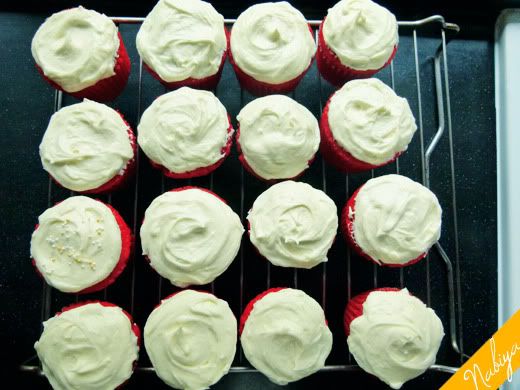
There were many birthdays in my family this week, and a special one in the manfriend's family... and also I kinda had a craving for a red velvet cupcake (clean eating begins MONDAY!). So, following a terribly self-indulgent Saturday morning, I decided to whip up a few batches of these little babies.

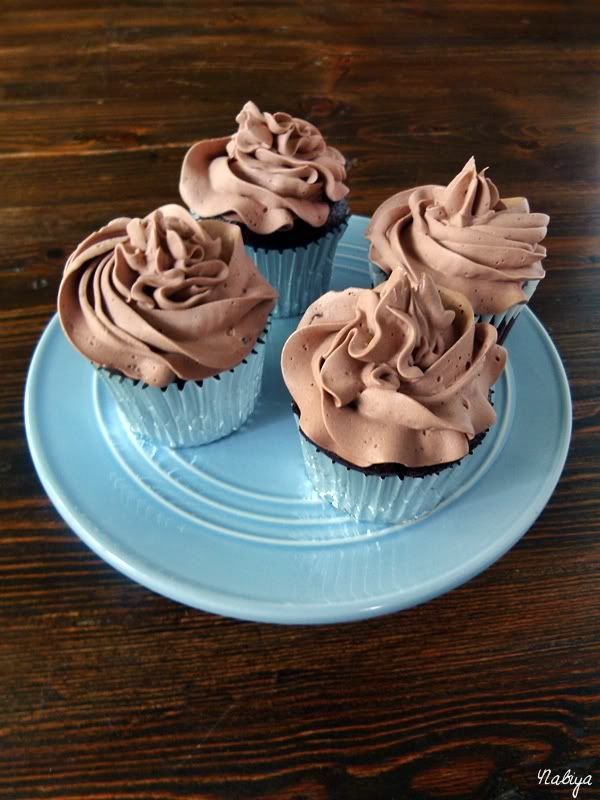
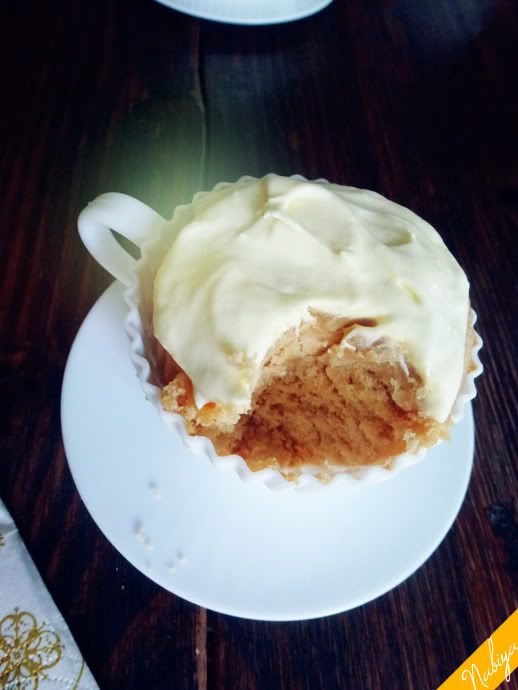
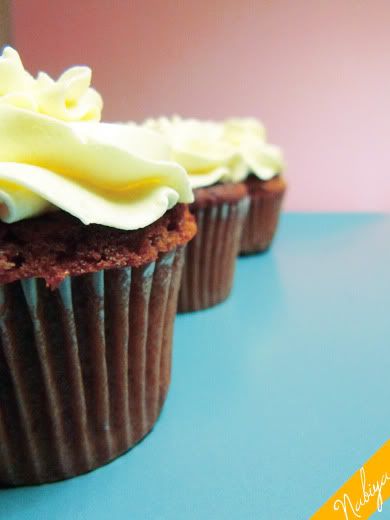
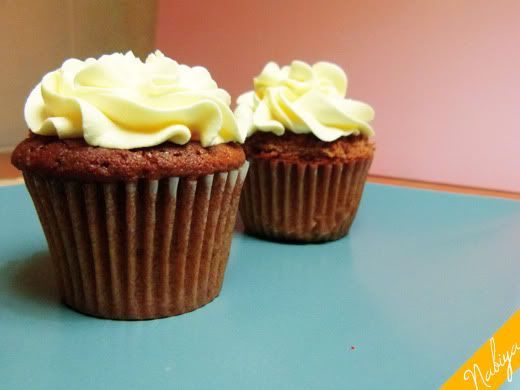
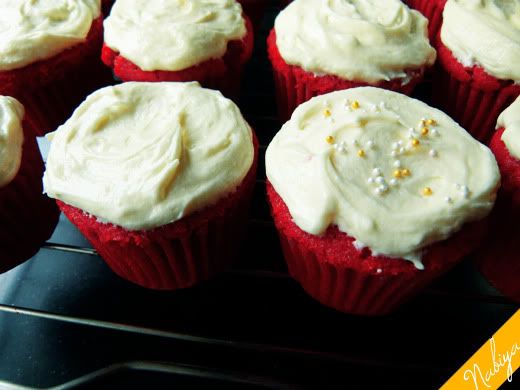
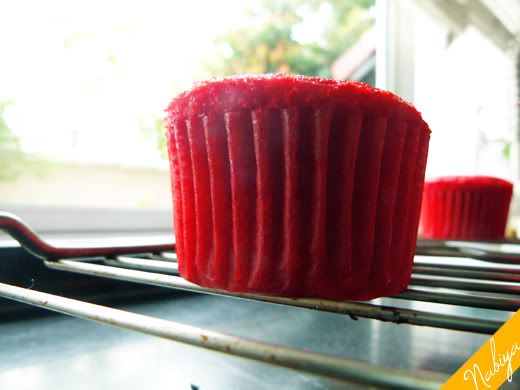
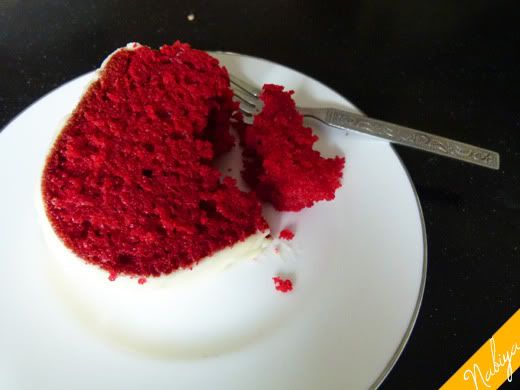
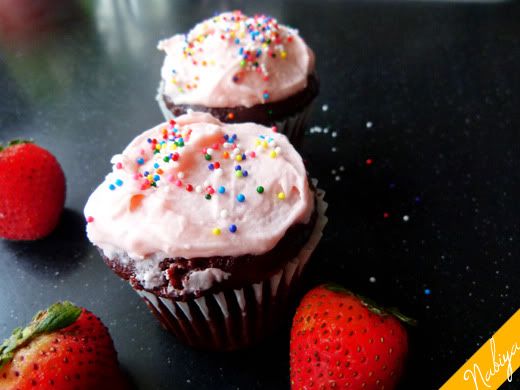
Don't they look pretty? My baby boomer dad surprised me by splitting the cupcake in half and eating it like a cupcake sandwich. Who knew he subscribes to Lifehack pinterest board advice?


Anyway, for those of you still on the hunt for the perfect red velvet cupcake recipe, look no further. The Hummingbird Bakery's recipe is definitely the way to go.

Red Velvet Cupcake
Yield: 12 cupcakes
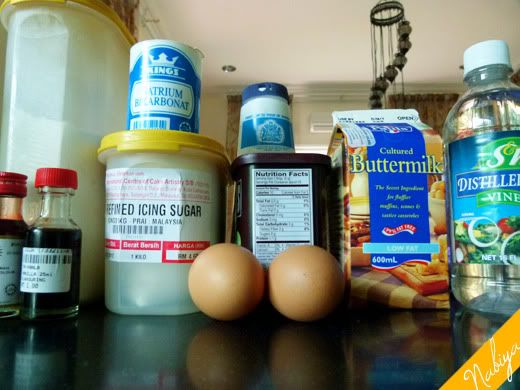
  • 60g unsalted butter, at room temperature
  • 150g caster sugar
  • 1 egg
  • 20g cocoa powder
  • 30ml red food colouring
  • 1 tsp vanilla extract
  • 120ml buttermilk
  • 150g all purpose flour
  • 1/2 tsp baking soda
  • 1 1/2 tsp white vinegar
  1. Preheat the oven to 180°C and prepare your cupcake liners
  2. Cream the butter and sugar in a large mixing bowl until fluffy, then add the egg and beat until fluffy
  3. In a small bowl, mix the cocoa powder, red food colouring, and vanilla into a thick paste then add it to the butter mixture, beating well to incorporate
  4. Add half the flour, beating until just combined, then add all the buttermilk, mixing well before adding the rest of the flour
  5. Last step, add the baking soda and vinegar and beat until just combined before dividing the batter into the cupcake liners. Fill the liners 2/3 of the way up, then lower the oven temperature to 165°C and bake for 25 minutes
  6. Allow the cupcakes to cool for 5 minutes into the cupcake tins before removing to a wire rack to cool completely. You may, like my brother and boyfriend, prefer to eat these without frosting... but for the purists who believe that red velvet cake must be eaten with cream cheese frosting, decorate as you will with this cream cheese frosting. I used a Wilton 1M tip to decorate with these darling little swirls. 

Tuesday

C is for Cookie


Everyone and their mother has been baking and decorating these little Cookie Monster cupcakes, which I'm sure you've seen on one of the many social network platforms throughout the web. I think I first saw these two years ago on Tumblr, but who are we kidding? These have been baked to death, but they're still effing adorable!

A friend of mine recently put in an order for several Cookie Monster cupcakes, in chocolate chip flavour. I'm  going to share the cupcake recipe, though I wish I'd taken better pictures. The cupcakes themselves were amazing, fresh out of the oven. Soft, fluffy, and tasted just like a chocolate chip cookie should.
I have to admit that I scoured the internet for a good choc chip cupcakes recipe, but was put off by the first few ones I found as they involved separating eggs. ARGH. I was being lazy... and after an extra hour of searching to no avail, I decided to go on with the Martha Stewart recipe. Here ya go:

Chocolate Chip Cupcakes
  • 3 1/4 cups all purpose flour
  • 1 1/2 tbsp baking powder
  • 1/4 tsp salt
  • 200g unsalted butter, softened
  • 1 3/4 cups sugar
  • 1 cup plus 2 tbsp milk
  • 1 tbsp pure vanilla extract
  • 5 large egg whites, room temperature
  • 2 cups semisweet chocolate chips
  1. Preheat the oven to 180C and line your cupcake tins, set aside
  2. Sift the flour, baking powder, and salt in a medium sized bowl and set aside
  3. Cream the butter and sugar until fluffy, then continue beating while slowly pouring in the milk and vanilla
  4. Beat the flour in until just combined
  5. Then in a separate bowl, whisk the egg whites until stiff peaks form (I did this before anything else then put the egg whites aside) and fold into the batter
  6. Fold in the chocolate chips
  7. Bake for 20 minutes, then remove and cool completely
You may choose to stop there, and eat as is with a glass of milk while they're still warm. Or, let them cool completely and frost with some cream cheese frosting coloured blue using a grass tip. I rolled out ready-made Satin Ice white fondant for the eyes, then dotted on eyes with edible food marker. Then just press in half a mini chocolate chip cookie where the mouth should be. 

Friday

Gingerbread Muffins


Tis the season to eat plenty
Trallalalallaaaa lalalallaah

I've been stretching myself a bit thin this past month, what with a full time job, side baking business, choir rehearsals, and now the holiday season is fast approaching, which means deadlines and holiday baking! We're also flying back to Miri (beautiful seaside town in Sarawak, Borneo, where I spent the first seven years of my life) over Christmas to spend time with family and friends for a special occasion (can't say yet!).

Tonight, however, is the final rehearsal for the choir's Christmas show (check it) which consists of one (1) caroling session in Publika (come by and bring me a Boost juice!), and two (almost) back-to-back full concerts almost across town. I thought to bring some treats for the group before we break up for the holidays, just as a "thank you for being so fun over the past few months" gift.

So here's the recipe (for what would have been gingerbread cupcakes... but I didn't feel like adding more sugar).

Gingerbread Muffins
Yield: 12 standard sized muffins
  • 1/2 cup canola oil
  • 1/2 cup caster sugar
  • 1/2 cup molasses
  • 1 egg, beaten
  • 1 1/2 cup flour
  • 1/2 tsp baking soda
  • 1/2 tsp baking powder
  • 1/2 tsp ground ginger
  • 1 tsp cinnamon
  • 1/4 tsp salt
  • 1/8 tsp ground cloves
  • 1/2 cup boiling water

  1. Preheat oven to 180C and lay out muffin liners
  2. Beat the canola oil, caster sugar, and molasses until combined, then add in the egg and continue beating until incorporated
  3. Combine the flour, baking soda, baking powder, ginger, cinnamon, salt, and ground cloves in a medium sized bowl and add to the liquid mixture. Beat until incorporated, then slowly trickle in the hot water. Continue beating for about another minute or two then divide between the muffin liners
  4. Lower the heat to 165C, and bake for 35 minutes or until a skewer poked through an angle comes out clean
  5. Eat!

Saturday

Holibaking & Hummingbirds


I've hit a snag in my holiday baking (or holibaking as it shall henceforth be known) plans: my family doesn't eat desserts as fast as I want to make them!

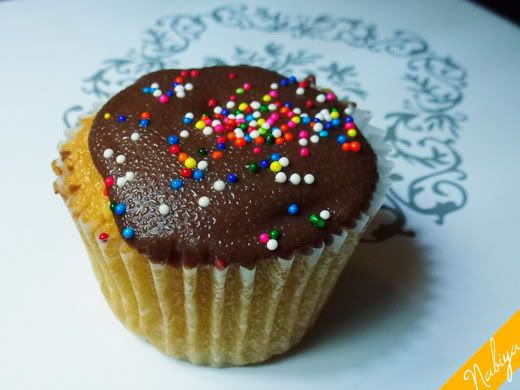
Arrrrrgggghhhhh. This is tough guys, like, it's a serious problem. To me. I've got all this pent up energy and a basket of browning bananas sitting on my kitchen island, yet I'm unable to make that banana cake I've been dying to bake for (oh, I don't know) months, just because we still have leftover cupcakes, crepe cake, and that awesome yellow cake with chocolate sour cream frosting.

I suppose I kinda neglected that one teeny tiny detail of my working days... I usually bake 'em, pack 'em, and bring 'em to work for my colleagues to have at tea time. Hmmm... I'm starting to eye my neighbours doorbells like a starving cartoon character would see a giant talking T-bone steak taunting them, just... begging to be rung. Maybe it's time to host a street party, or even just show up randomly at the neighbours' with wrapped goodies?

Or maybe it's time I get out of the house. I don't know why, but my hermit mode switches right on when I'm on holidays. I don't go out unless someone drives me, and I wake up mid day to have coffee and watch tv with my siblings, then I try to trick the senses by taking a shower and getting all dressed up even though I know deep down that I have not a single ounce of intention to cross that threshold. Dude, I'm so lazy. I love it though.

Here's something that I baked this week, had tons of fun with, and was quite a hit with the parents: hummingbird cupcakes with whipped cream cheese frosting. The recipe was basically the one I used here, minus the pears, and this whipped cream cheese frosting which is currently my favourite to top cakes with. Great taste and texture, but ooooh boy... I think I need to cycle around the lake tomorrow morning. Just to make up for this week I've spent on my arse.

Anyone wanna come over for morning coffee/high tea/dessert?

Love, Nabs

Wednesday

Earl Grey Tea Buttercream

The word Posh is often mistakenly believed to be derived as an acronym of the term "Portside Out, Starboard Home" referring to the first class cabins in ships back in the olden days when people travelled by sea. Posh is alo most commonly related to Victoria Beckham, one of our favourite Spice Girls (girl powah!).

Whenever I drink Earl Grey tea with a wedge of lemon, and have a pot of proper Devonshire Clotted Cream at hand to slather on my scones, I also like to poke my pinky finger out in the air to milk the posh-ness of the situation. Over the weekend, I definitely up-ed the posh metre in my house with pots of tea, warm scones and these beautiful babies...

For the cake and cupcakes, I simply made two batches of this Earl Grey tea cake recipe I made before. For the cupcakes, I baked at 180C for 20 minutes, and the cake for 45 minutes in an 8-inch round pan.

Earl Grey tea Buttercream
  • 2 1/2 cups powdered sugar, sifted
  • 113g butter, softened
  • 2 bags Earl Grey tea + 4 tbsp scalding hot water (steep for 20 minutes) 
  1. Cream the butter and sugar, then gradually beat in the tea and beat for another 3-5 minutes until a smooth consistency is achieved
  2. Scoop the icing into a piping bag and pipe away! 
 
According to my very fussy, incredibly anti-buttercream brother, Adam, this was his favourite frosting on any cake I've made thus far. So I figured it must mean that it's good. Also, one batch of this frosting can cover 20 regular sized cupcakes and 1 8-inch round cake.

Sunday

Best Chocolate Cupcakes Ever


I realize that is the most audacious title you might ever see on this blog, but I assure you I wasn't the first to make the claim, nor will I be the last. Trust me on this one, would I ever lie to you?

It being Saturday, and my cousin having celebrated his 25th birthday last night (yay, Happy birthday, Azamlove!), I slept in a little this morning... that is to say, I finally staggered out of my room in a bathrobe around 10 in the morning, croaking for coffee. Only I found my two youngest siblings, Adam and Elle, sitting right outside and the first thing they asked me was, "Are you going to bake today?"

Followed with a very quick, "Can it be something with chocolate?"

So me being the amazing big sister that I am, sat down on the sofa and waved at one of them to bring me a cup of coffee, and at the other to bring my laptop. Summoning Charm, they've learnt to understand what Accio means. lol it's not really that bad, they jump at the chance... sort of like house elves. OKAY, enough with the HP references, I promise (not really). I looked through food gawker (ohmistars, how did I live before that website?) for ultimate chocolate and the first one that popped up was this from Dawn over at First Look, Then Cook blog. She got the recipe of Cook's Illustrated, one that I have no access to, and have no interest in filling up a registration form for...

It looked a lot more complicated (in that it involved more steps than melt, mix, and bake) than I usually like for Saturday "morning" baking, but since I had some time before my afternoon appointment... it was doable.

I barely made it to my appointment in time, and had to wait til I came home to take some pictures in fading light. There are SO many steps to this recipe, but nothing overly difficult, and the end result is so rewarding that you hardly care about the mess you made of the kitchen.

You're probably wondering when I'm going to get on with the recipe now, right? Okay okay, let's go:
Photobucket
Ultimate Chocolate Cupcakes with Chocolate Ganache filling, and Chocolate Swiss Meringue Buttercream. 
Yield: 12 medium sized cupcakes

Ganache Filling:
  • 2 ounces bittersweet chocolate, finely chopped
  • 1/4 cup heavy cream
  • 1 tablespoon confectioners’ sugar
  1. Combine all the ingredients in a small bowl and pop it in the microwave at full power for roughly 20-30 seconds, whisk until it's smooth, then cool in the fridge until ready for use
Chocolate Cupcakes:
  • 3 ounces bittersweet chocolate, finely chopped
  • 1/3 cup cocoa powder
  • 3/4 cup hot coffee
  • 3/4 cup bread flour
  • 3/4 cup granulated sugar
  • 1/2 teaspoon table salt
  • 1/2 teaspoon baking soda
  • 6 tablespoons vegetable oil
  • 2 large eggs
  • 2 teaspoons white vinegar
  • 1 teaspoon vanilla extract
  1. Preheat the oven to 180C and line the cupcake trays
  2. Combine the chopped chocolate and cocoa powder in a small bowl, pour the scalding hot, bitter coffee over it and whisk until smooth, then pop the bowl in the fridge until you're ready to use it
  3. In a medium bowl, sift the flour, sugar, salt and baking soda (lol I typed sofa first), then set aside
  4. In the large mixing bowl of your electric mixer, whisk the vegetable oil, eggs, vinegar, vanilla and the cooled chocolate mixture until smooth
  5. Gradually beat in the flour mixture until fully incorporated
  6. The batter is quite runny, so you can actually just pour into your cupcake pans if you have steady hands. I used a cupcake filler thingy that I got for Christmas, but still made a mess. Fill the cupcake liners 3/4 of the way up
  7. Take out the chocolate ganache and scoop up tsp sized balls, drop a ball onto the top of each cupcake, then bake for 15-20 minutes. When it's done, allow the cupcakes to cool in the pan for about 5 minutes before moving them onto a cooling rack
Frosting:
  • 1/3 cup granulated sugar
  • 2 large egg whites
  • Pinch table salt
  • 12 tablespoons unsalted butter, softened and cut into 1-tablespoon pieces
  • 6 ounces bittersweet chocolate, melted and cooled
  • 1/2 teaspoon vanilla extract
  1. Heat a pot of simmering water, and in a heatproof bowl over the water (make sure the bottom of the bowl doesn't touch the water) whisk the egg whites and sugar until all graininess from the sugar is gone (this also means the eggs are cooked)
  2. Transfer the mixture to your grease-free (wipe down with some lemon juice and dry thoroughly before use) mixing bowl, and using the whisk attachment on medium speed, whisk the mixture until soft peaks form. This is the meringue component of the frosting
  3. Add the butter one cube at a time, whisking away as it goes, and don't worry if it looks horrible, it'll get better when all the butter is added. You may have to whisk for a while to get a pretty consistency. I usually have to stop the mixer after the butter is all added, scoop the sides and bottom of the bowl with a spatula and then let it whisk again before it starts resembling something edible
  4. When you've achieved the desired consistency, add the chocolate and vanilla, and whisk until smooth and creamy
  5. Transfer into a piping bag with a tip of your choice (I like Wilton's 1A or 1M tips for cupcakes), or just cut out a small hole at the end and pipe over your cooled cupcakes
  6. Enjoy immediately!
I loved these cupcakes, though truth be told, I only managed to get one bite before it was taken away from me. The moment I snapped the pictures, the cupcakes were taken away and now I have nothing to show for my morning of hard work! This is one of the few times that something I've baked has disappeared so fast, which is an indication of how amazeballs this recipe is. 

If you have a free weekend morning, I recommend you whip up these cupcakes. SMB frosting is so crazy sexy and tastes so beautiful, I'll never be able to go back to regular buttercream. The ganache filling is a lovely surprise too, especially when the cupcakes are still warm and gooey. These are certain to impress your friends and family, so if you do give them a shot, I wish you all the best! 

Much love, Nabs

Earl Grey tea cupcakes

Photobucket

On every family holiday, my father allocates a minimum of TWO days for shopping, which is a very smart system so we don't go nuts on the first day, and also so we don't waste time in shops on the non-shopping days. On the latest holiday to NZ, I went to TOWN in Stevens, Albany Mall. Talk about a dream come true!

See, we don't have shops like that here in Malaysia, and what shops we do have, have (am I the only one who despises using double words like that?) limited supplies and are far too expensive for a poor, entry-level consultant like myself. I bought at least 12 items (including stuff from Living & Giving) for under NZ$100!

Granted, it was also during the Boxing Day sales *snickers*
Photobucket
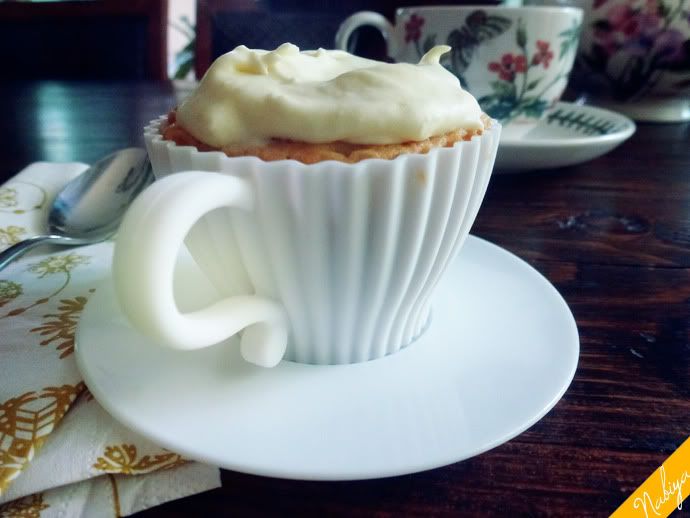
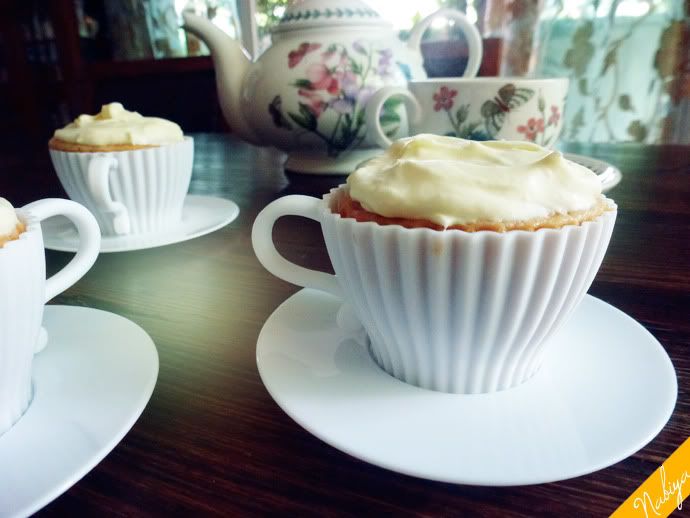
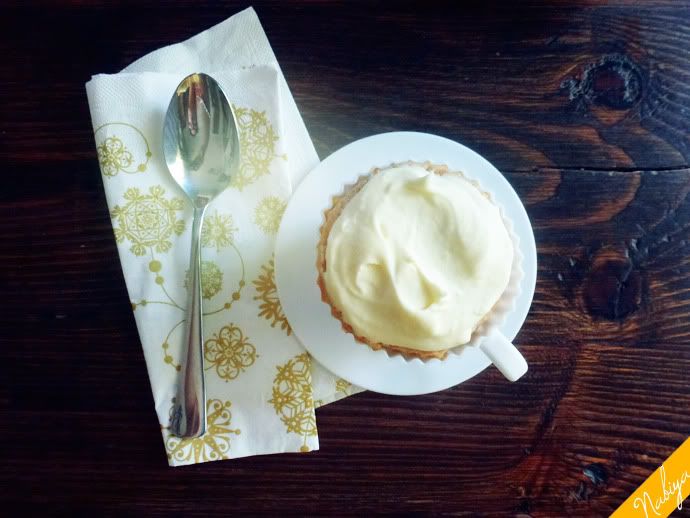
One of the things I bought were these super cute silicone teacup cupcake molds, and I've been thinking about them ever since. What flavour should I make them? What toppings? When? I decided to go literal and make earl grey tea flavoured cupcakes, with a basic cream cheese frosting (mostly cos I'm lazy...). Oh, for those interested, you can order the molds online here.

I found this brilliant recipe from objetivo cupcake (thank R'hllor for auto translate!) which doesn't require using tea-leaves, straining and so on and so forth. It's quick, easy and doesn't yield very much batter, which is a blessing sometimes as I've already got a backlog of desserts in my fridge and mum's none too pleased about it.

It's been a while since I last typed up a blog post, so I'm a little rusty and the words aren't flowing. Let's just get on with it!
Photobucket
Earl Grey tea cupcakes
Yields 12 large cupcakes
  • 125 ml skim milk (use whatever type you prefer)
  • 4 bags Earl Grey tea
  • 110g butter, room temperature
  • 225g caster sugar
  • 2 large eggs
  • 245g all-purpose flour, sifted
  • 2 tsp baking powder
  1. Heat the milk in a saucepan until nearly boiling
  2. Remove from the heat, infuse the teabags for half an hour, in this time, enjoy a cup of tea and an episode of Friends
  3. Preheat the oven to 180C, prepare your cupcake molds
  4. Sift the flour and baking powder in a medium bowl and set aside
  5. Beat the butter and sugar with the paddle attachment on medium speed for 4-5 minutes, or until the mixture is light and fluffy 
  6. Add the eggs one at a time, beating well after each addition. Be sure to scrape the bottom and sides of the bowl to ensure all the butter mixes with the eggs
  7. Add 1/2 of the flour to the butter mixture, beat at medium speed until fully incorporated
  8. Add 1/2 of the milk/tea, beat at medium speed until just combined
  9. Repeat steps 7 & 8 until you're done (which means you only repeat each step once, duh, Nabs)
  10. Fill your cupcake liners 3/4 of the way up, bake for 20 minutes or until a skewer poked through at an angle comes out clean
Then kick back, and enjoy a cupcake with it's best partner: a cup of Earl Grey tea, and just chill out. Tea solves all problems, doncha know? 
Photobucket
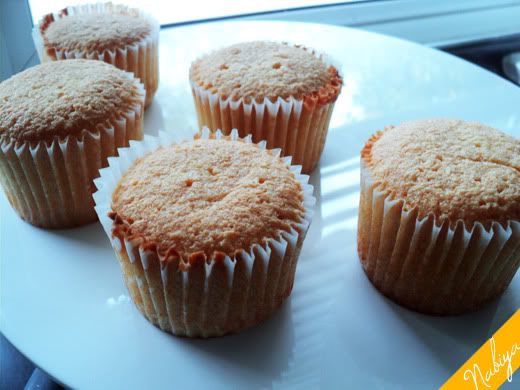
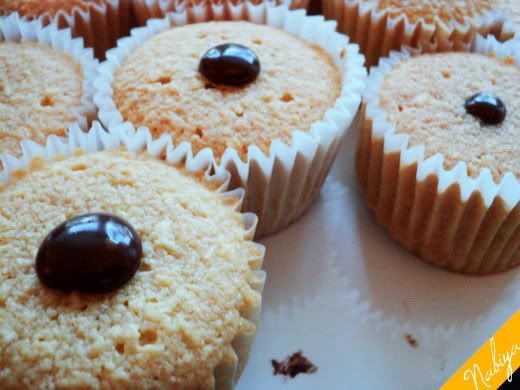
The texture was amazing, slightly denser than the average cake, which is great for a cupcake as it doesn't crumble as much. The flavour of the Earl Grey tea was full-blown and it made for this perfectly citrusy, fragrant aftertaste. The cake on its own without frosting is fab, but with frosting is decadent! I actually gobbled up an entire cupcake sans frosting around midnight last night... bad Nabs.

x Nabs

Thursday

Milo Cupcakes with Condensed Milk Frosting

Photobucket
Milo.
I'll drink it hot, I'll drink it cold, I'd eat it in it's powder form, I'd sprinkle it between two pieces of plain sliced bread, I'd do anything with it.
I'm a Milo ho, yo.
Milo is a very popular drink here, it is a chocolate and malt powder, and has become a staple in most households and office buildings. Kids grow up (okay, I'm generalising here, I grew up) drinking this stuff, fully expecting to transition to tea in my late teens, and then eventually starting on coffee. The transition is true enough, but I still enjoy a hot cup of Milo in the mornings sometimes, or ice-Milo when I'm feeling decadent.
So naturally, when I came across the recipe for Milo Cupcakes from Steph, it was only a matter of when. The when came that night, after work. So what if I was knackered and had fallen asleep while I waited for the cupcakes to bake? So what if I'm trying to refrain from sweets and carbs after 7pm?
This recipe yielded one of the fluffiest and lightest textures I've ever achieved in a cupcake, and the flavour is just so spot-on, I basically crave one just typing up this post.
Photobucket
I didn't manage to get many good pictures of the cuppies as I only had time to snap pictures after two days, and these were the only ones left. So, I'll simply have to re-do the recipe soon to take better shots!
Milo Cupcakes with Condensed Milk Frosting
by Steph at Raspberri Cupcakes
  • 200g all-purpose flour
  • 200g granulated sugar
  • 1 tsp baking powder
  • 1/2 tsp bicarb soda
  • 100g Milo
  • 1 tsp vanilla extract
  • 180g sour cream
  • 170g unsalted butter, softened
  • 2 large eggs
Condensed Milk Frosting
  • 150g unsalted butter, softened
  • 300g icing sugar, sifted
  • 5 tbsp condensed milk
  • a pinch of salt
  1. Preheat oven to 180C, line cupcake tray
  2. Sift flour, baking powder, bicarb soda and Milo in a medium sized bowl
  3. In a large bowl, beat the butter until light and fluffy, add in the sugar, beat until fluffy
  4. Add the eggs one at a time, beating well after each addition
  5. Add sour cream and vanilla and beat until just combined
  6. Add the flour mixture and beat until incorporated
  7. Fill cupcake liners and bake for 15-20 minutes, or until a toothpick inserted at an angle comes out clean
  8. Cool for a minute in the pans, then let them cool completely on a wire rack
  9. For the frosting: beat butter and salt until fluffy, add sugar 1 cup at a time, beating well after each addition. Then add the condensed milk, and beat well.
The batter is so light that you have to be sure not to fill too much in the cupcake liners, I filled them up 3/4 of the way as usual, but they all got a bit too big. As you can see in the pictures above, I trimmed a few of them.
Then ate the trimmings. As one does.
x Nabs

Monday

Red Velvet Cake

Photobucket
After months of putting it off, I finally grit my teeth, hitched up my apron and went for it: The Red Velvet cake. Don't get me wrong, I love red velvet, I love the texture, taste and colour, but my only issue with this recipe is that it's getting FAR too much airtime.
It is currently The Reason by Hoobastank of cake recipes. Though Macarons are fast becoming the Rebecca Black of baking blogs too.
Photobucket
The recipe's been around for ages, but it only recently gained popularity in Malaysia and ever since... EVERYONE's been making red velvet. It's everywhere, and most of them aren't even that good! That's another thing: people, red velvet is only as good as the cream cheese frosting you pair with it.
Ugh, I bet I'm coming across as some hipster baker at the moment (yea, so mainstream, yada yada, I prefer zucchini bread LOL) but please allow me my follies.
Anyway, enough whinging, I'll get on with it...
Photobucket
I googled red velvet recipe last week and lo-and-behold, got about 30 different recipes. Most people seem to believe that red velvet cake is simply cake with some cocoa and lots of colouring. WRONG *slams the buzzer*. It's SO much more than that, and it's just genius! I never knew there were so many ways to make one cake, but then I found this blog entry of a comparison study of EIGHT recipes. She'd gone through all that trouble, who am I to dispute a sample of 25 cake tasters?
Cakeman Raven's Red Velvet Cake recipe it is then:
Photobucket
  • Butter for the pans
  • 2 1/2 cups all-purpose flour
  • 1 1/2 cups caster sugar
  • 1 tsp baking soda
  • 1 tsp fine salt
  • 1 tsp cocoa powder
  • 1 1/2 cups vegetable oil
  • 1 cup buttermilk, room temperature
  • 2 large eggs
  • 1 oz red food colouring (zomg!)
  • 1 tsp distilled white vinegar
  • 1 tsp vanilla extract
Photobucket
Preheat the oven to 180C, line or grease your pans
Photobucket
In a medium sized bowl, sift together flour, sugar, baking soda, salt and cocoa powder
In a larger bowl, beat the vegetable oil, buttermilk, eggs, colouring, vinegar and vanilla on medium speed
Photobucket
Gradually add the flour mixture, one cup at a time to the wet mixture until just combined and a smooth consistency is achieved
Photobucket
Divide the batter evenly into your pans, bake at 180C for 30 minutes or until a toothpick inserted at an angle comes out clean
Photobucket
Then, of course you have to cover red velvet with cream cheese frosting. Click here for my trusted recipe.
Photobucket
Yes, I made another batch for cupcakes!
And then go crazy with the camera before indulging in some soft, sinful cake.
Photobucket
Look at that, the most perfect little cupcake.
Photobucket
I only managed this one slice, went out to watch the Rugby (GO ALL BLACKS!), came home and the cake was gone. Which explains the cupcakes :D
I'm quite happy with this recipe, though in future I might try a butter based one for cupcakes. Give this one a shot, just for the wow factor over Christmas or Valentines. I think I may do one for Halloween in the shape of an animal or body part.
BUHAHAHA
x Nabs

Tuesday

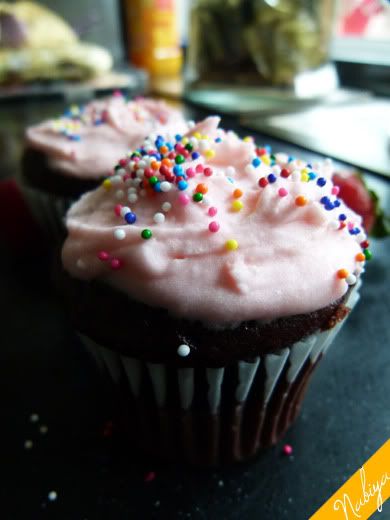
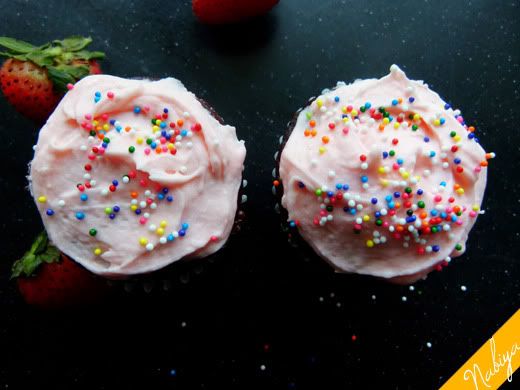
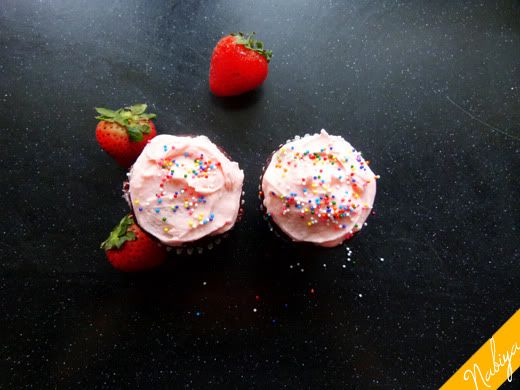
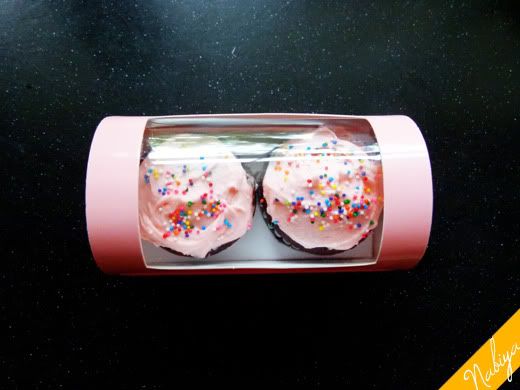
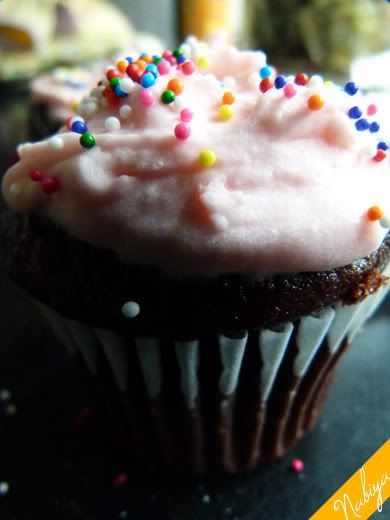
Chocolate Cupcakes with Strawberry Cream Cheese Frosting

Photobucket
Before we begin, let me just warn you that this entry may be a tad image heavy, despite the fact that by the time I got to photographing the cupcakes there were only two left... they were so cute, and the lighting was working so well for me that I got totally carried away!
Photobucket
Anyhoo, as mentioned previously, I made my first cake sale last weekend, and along with a strawberry cake, my friend also wanted some cupcakes. At first I didn't think I would have the time to manage the cupcakes, but decided to try for it anyway. I whipped up my go-to chocolate cake recipe, and popped them in the oven while I was frosting the cake.

While the cake sat in the chiller and the cupcakes baked, I managed to shower, get dressed and put on make up before running back to the kitchen to finish the job.
Photobucket
I honestly didn't think I'd make it, but thankfully had enough left over cream cheese frosting from the cake to frost a few of the cupcakes. I only made some miiiinor adjustments.

Strawberry Cream Cheese Frosting recipe:
  • 8oz cream cheese, softened
  • 1/4 cup butter, room temperature
  • 1/2 strawberries, pureed and sieved of seeds
  • 3 - 4 cups powdered sugar (or until you achieve the taste and consistency you want)
Photobucket
  1. Whisk butter and cream cheese until light and fluffy, for about 5 minutes on medium speed
  2. Mix in the strawberry puree
  3. Beat the sugar in half a cup at a time for 3-4 minutes each addition
  4. *Optional: Add a drop of pink colouring gel
This was also the first time I just applied frosting with a spatula as opposed to piping, and it was daunting! With decorating tips, you KNOW they'll turn out pretty, and yet with this method... there's the chance that they'll look messy, lazy and half-hearted.
Photobucket
I think this method makes for really cute cupcakes, though... Am thinking of making a large batch with different flavours and colours! Cute! Maybe a Hogwarts houses themed batch!
Photobucket
x Nabs

Monday

Secret Family Recipe

Photobucket
I baked the Best Cupcakes Ever last week, one adapted from my mother's Sarawak Layer Cake recipe, and it's turned into a neighborhood favourite! However... the bad news here is that my mum has expressly forbidden me to share the recipe.
Photobucket
I'm sorry guys, but mum's recipe, mum's rules. She'd disown me, spill my entrails and drag me around with dad's Harley if I revealed her secrets.
Photobucket
Mum's a serious woman.
Photobucket
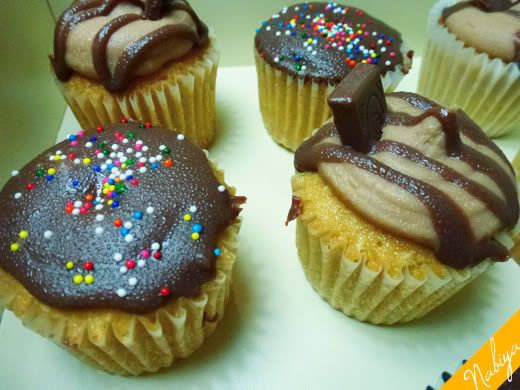
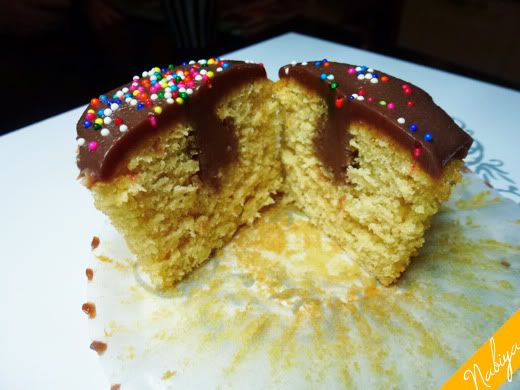
Anyway, these are almost coconut-ty cupcakes with a certain chocolate filling and secret chocolate frosting. Sorry.
Photobucket
The only thing I can say now is that the ganache I made was FAR too thick for filling the cakes, and I'll have to adjust that in future so that it absorbs properly into the cake. It's just the perfect consistency for decorating, though.
x Nabs

Butterbeer Cupcakes

Photobucket

Before we get to the bulk of this entry, please allow me to get my geek on and give you a little lesson on the Potterverse (otherwise known to us magical folk as the Wizarding World), care of this nifty little invention called Wikipedia (which, little known to muggles is in fact founded, and managed completely by a terribly entrepreneurial band of rogue house-elves! Can you believe it? Of course you don't, you simple muggle):

Butterbeer is the drink of choice for younger wizards. Harry is first presented with the beverage in Harry Potter and the Prisoner of Azkaban. Although House-elves can become intoxicated on Butterbeer, the amount of alcohol contained in Butterbeer has a negligible effect on Witches and Wizards. J.K. Rowling said in her interview to Bon Appétit magazine that she imagines it "to taste a little bit like less-sicklybutterscotch." Butterbeer can be served cold or hot but either way it has a warming effect.

Butterbeer was a real drink, the earliest reference to Buttered Beere is from, 'The Good Huswifes Handmaide for the Kitchin' published in London in AD 1588,[28] made from beer, sugar, eggs, nutmeg, cloves and butter back in Tudor times. Another old recipe for Buttered Beer, published by Robert May in AD 1664., from his recipe book, 'The Accomplisht Cook' calls for liquorish root and anniseeds to be added.[29] British celebrity chef Heston Blumenthal recreated the drink for his show "Heston's Tudor Feast."[30]

It was announced in April 2010 that a drink named after butterbeer is sold in the theme park, The Wizarding World of Harry Potter at Universal Orlando. It has a sweet taste and is a non-alcoholic beverage. It was taste-tested by J. K. Rowling herself. According to Neil Genzlinger, a staff editor on the culture desk of The New York Times, the beverage "is indistinguishable from a good quality cream soda."

Last weekend I discovered a disturbing fact: not everyone I know is a Harry Potter fan.

Why are we even friends?

lol, jokes. But just to manage your expectations, you probably wouldn't understand how important the following recipe is if you aren't a Harry Potter fan. The recipe will still be delicious, but it will lack the magic of Diagon Alley, the Leaky Cauldron and the Three Broomsticks. I still encourage you to try it though... while reading a copy of Philosopher's Stone, of course!

My attention was first brought to this recipe by Ern (of SS fame), and I've had it on my mind for months now! I've always wanted to taste Butterbeer, and I actually can't wait til I get to the WWoHP next summer, first of all to have a flagon of this fictional fizzy drink, and then to buy myself a wand at Ollivanders.

According to friends who have had the opportunity to try Butterbeer for themselves, it's supposed to taste like butter, cream soda and butterscotch. Which sounds delicious, right? The brilliant Amy over at amybites.com created the cupcake recipe as close to the taste of the drink as she could make it. I can only trust her taste buds, as I can't validate it myself for at least another year.

Photobucket

Butterbeer Cupcakes

Makes 18

For the cupcakes:

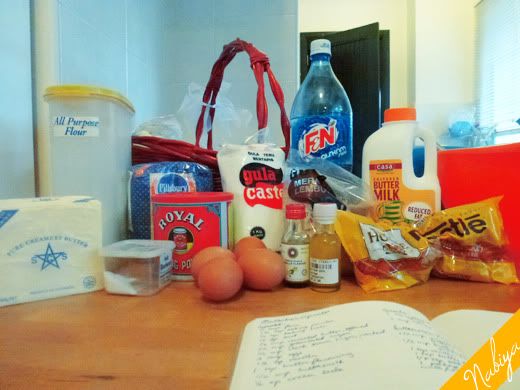
  • 2 cups flour
  • 1 1/2 teaspoon baking powder
  • 1/2 teaspoon baking soda
  • 1/4 teaspoon salt
  • 1/2 cup (1 stick) unsalted butter, softened
  • 1/2 cup granulated sugar
  • 1/2 cup dark brown sugar, packed
  • 3 large eggs
  • 1 1/2 teaspoon vanilla
  • 1 teaspoon butter flavoring
  • 1/2 cup buttermilk
  • 1/2 cup cream soda (I just used F&N’s Ice Cream Soda)

For the ganache:

  • 1 11-oz. package butterscotch chips
  • 1 cup heavy cream (I used 1 cup buttermilk)

For the buttercream frosting:

  • 1/2 cup (1 stick) unsalted butter, softened
  • 1/3 cup butterscotch ganache
  • 1 teaspoon vanilla
  • 1 teaspoon butter flavoring
  • 1/8 teaspoon salt
  • 1 16-oz. package powdered sugar
  • Splash of milk or cream (as needed)

Photobucket

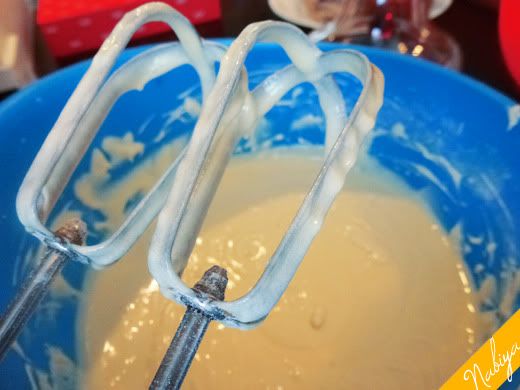
This recipe makes such a yummy batter! Good thing I was fasting, or I’d have gobbled it up

For the cupcakes:

  1. Preheat the oven to 180°C and prepare your cupcake pans
  2. In a medium sized bowl, combine flour, baking soda, baking powder, and salt in a bowl (or use self-raising flour! which I just figured out already has baking powder in it...)
  3. In a large bowl, cream your butter until light and fluffy. Add sugar and beat until well-combined
  4. Beat in the eggs one at a time, mixing well after each addition. Then beat in your vanilla and butter flavouring
  5. Alternate adding your buttermilk, cream soda, and dry ingredients in batches until all are well incorporated
  6. Fill cupcake liners up to around 3/4 of the sides, I used a medium sized ice-cream scoop to get my measurements consistent, though. Bake for 15-20 minutes, until a toothpick inserted at an angle comes out clean

Photobucket

For butterscotch filling:

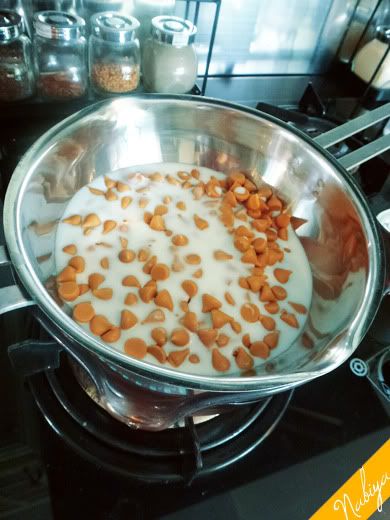
1. In a double boiler (heat-proof bowl over a pot of simmering water on the stove), combine butterscotch chips and heavy cream, and stir until completely combined and smooth

Photobucket

I used buttermilk instead of heavy cream and got a really liquid “ganache”

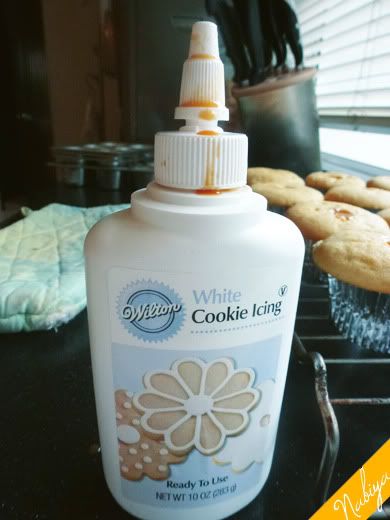
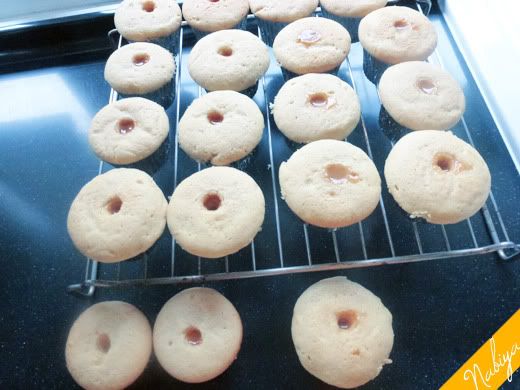
2. Cool to room temperature. Fill a squeeze bottle with ganache and insert into the center of each cupcake, squeezing until filling begins to overflow.(I didn’t have a more appropriate squeeze bottle, so just used a cleaned out Wilton Cookie Icing bottle I’ve had in the bottom of my drawer)

Photobucket

Photobucket

For buttercream frosting:

  1. Cream butter in a large bowl until fluffy
  2. Add in ganache, vanilla, butter flavoring, and salt and mix until well combined
  3. Beat in powdered sugar 1 cup at a time until reaching desired consistency
  4. Add milk or cream slowly, just until you achieve the consistency you desire
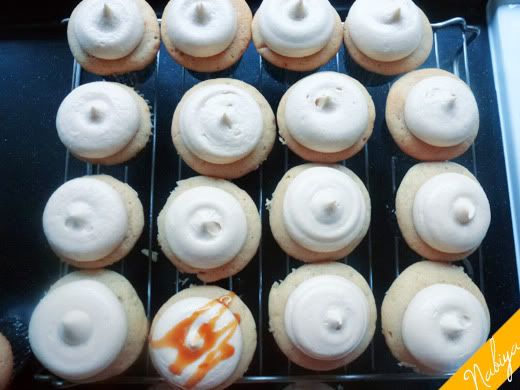
  5. Decorate cupcakes and top with a drizzle of butterscotch ganache (I think without the butterscotch ganache is fine)

Photobucket

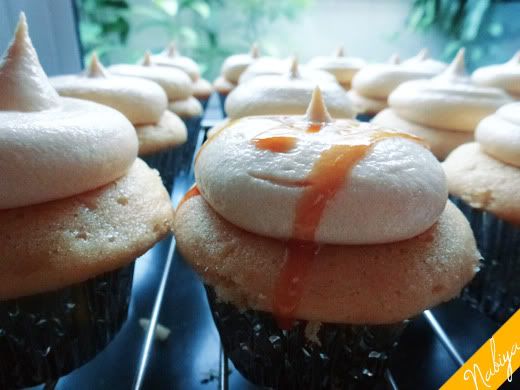
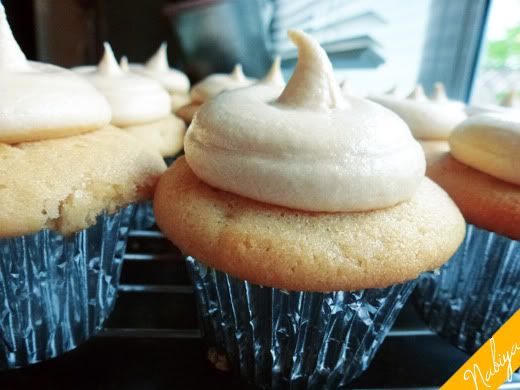
Look, this one looks like a wizard’s hat!

I used a Wilton 1A tip for these cupcakes

I brought a container of cupcakes to the Bazaar/flea market in Rasta TTDI later that night, and we managed to sell out at RM3 a piece (though all proceeds went straight to our fund to help a friend in need, more on that later). Not bad, eh? Though in future, I’ll probably make mini cupcakes for these things.

Photobucket

I definitely prefer it without the extra drizzle on top. Very sweet on it’s own!

On a side note, please click this link to a Facebook page for our friend Rara. She is in need of financial assistance for her medical bills, as she’ll be in an out of surgery. I don’t know Rara personally, but we do share a group of friends who are all actively trying to help her and her family out.

Thanks, and enjoy the magic

x Nabiya